
Install Google Site Kit on Aliyun ECS Server

Previously my site was on a server above Siteground, which is supposed to use the Singapore server room, so Google Site KitInstallation and use was no problem; since I moved the site back to the Aliyun ECS cloud server, installing the Google Site Kit After that it doesn't work and keeps reporting an error: because the Google Site Kit Services need to access Google's servers, so in the domestic servers can not be connected, so the general will be reported as a proxy problem ah, Rest API and so on, network anomalies can not be connected and so on, the core is actually unable to connect to Google's servers.
- Your site may not be ready for Site Kit, Site Kit does not have access to the WordPress REST API. Please make sure it is enabled on your site.


If you need to use Google Site Kit in domestic server, you can refer to the following tutorial.
Google Site Kit, the secret weapon for overseas WordPress bloggers.
To do a good job, you must first make a good tool.
If you don't know what Google Site Kit I'll help you with a simple science.
This plugin is described as::
In this digital age, Google Site Kit is to webmasters using WordPress what a Chief Data Officer is to the Chairman of the Board of a company.Google Site Kit is a powerful WordPress plugin that integrates with a variety of Google's services like Google Analytics, AdSense , PageSpeed Insights and Search Console to help you get key site performance data from a clean, intuitive dashboard.
You don't need to understand what each of these words really means, all you need to do is click through a few times to get a complete picture of your website's visitor behavior, revenue potential, page load speed, and how your site performs in Google's search engine results. site Kit not only provides this information, but also presents it in an easy-to-understand format that doesn't require the slightest bit of programming skills. This digital cockpit is easy to navigate without the slightest programming skills. This means that whether you're a blogger just starting out or running a complex e-commerce site, Site Kit can be your most trusted digital assistant to help you achieve online success.
With Google Site Kit, you can quickly make data-driven decisions to optimize your site, attract more visitors, and enhance their experience. It all starts with this simple, straightforward, and powerful plugin.Google Site Kit is every WordPress site blogger's secret weapon!
How domestic WordPress bloggers use Google Site Kit
Due to well-known reasons, bloggers who use domestic cloud servers to build websites cannot directly connect to Google through cloud servers, and therefore have no access to Google site kit. in other words, as long as the problem of scientific Internet access on cloud servers is solved, the ideal wings for WordPress can also be inserted!
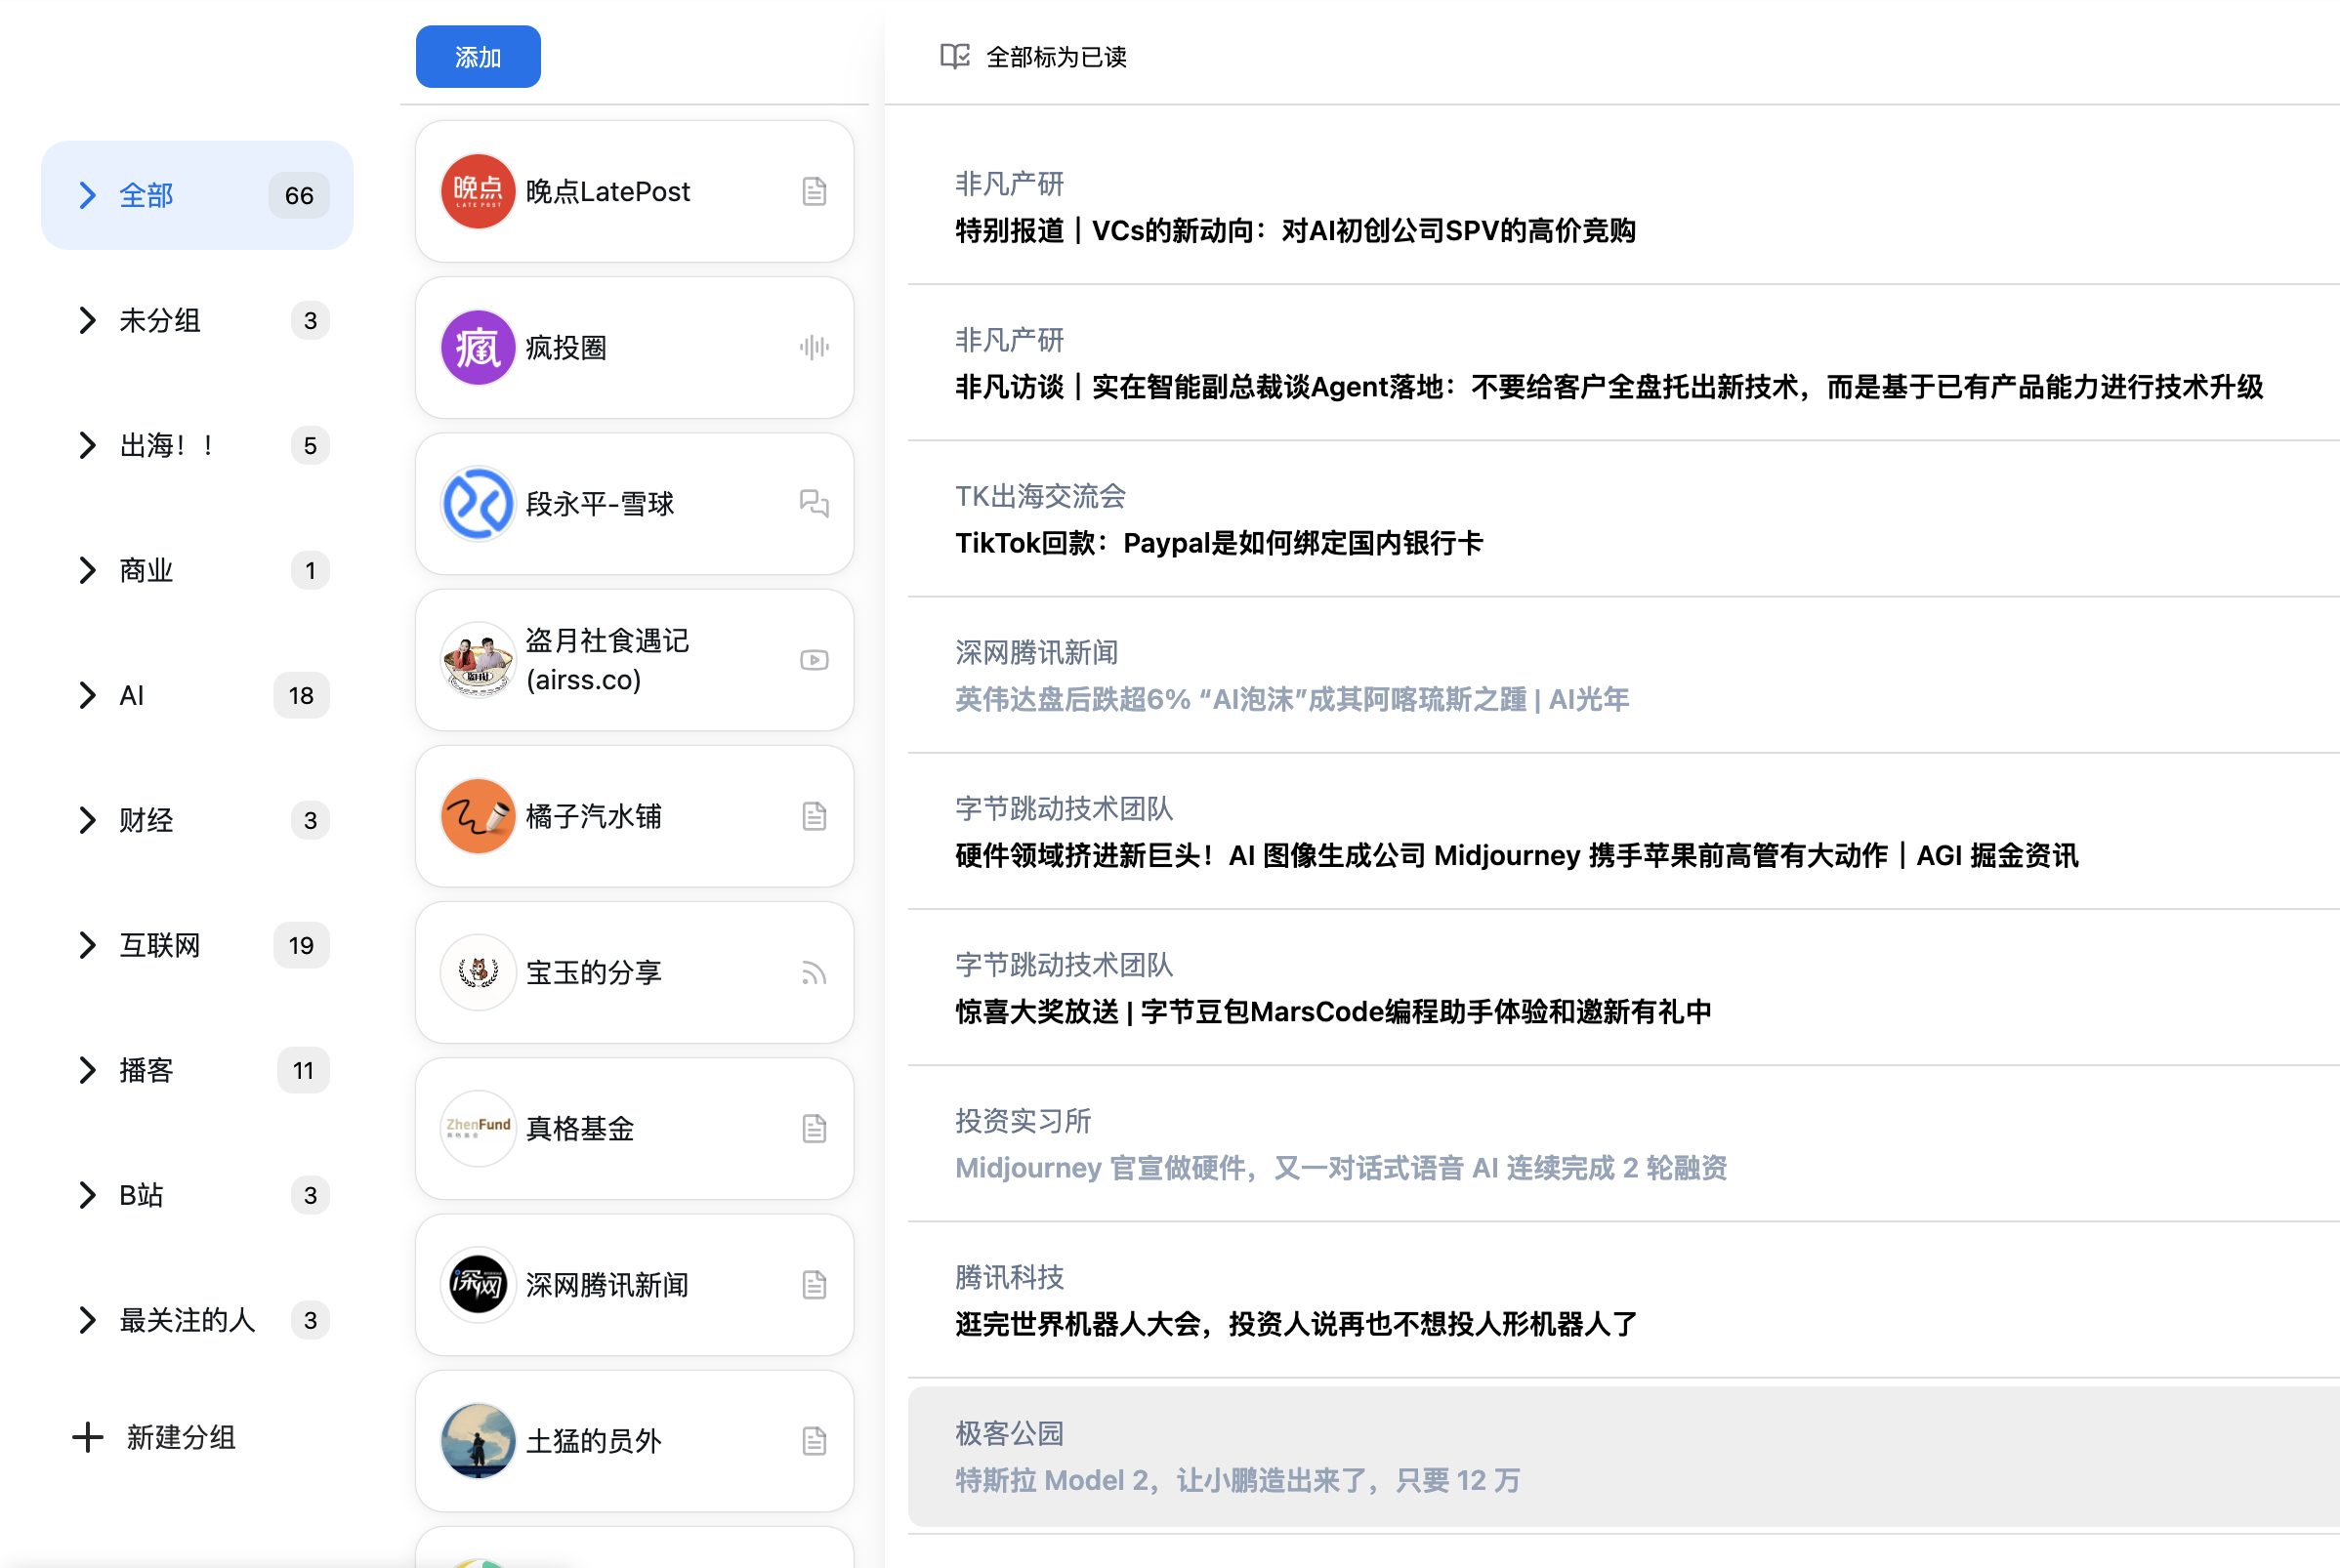
Actual finished effect
Straight to the picture. In fact, in addition to the free use of Google Site Kit, almost all WordPress plugins that you have you are able to freely access, download and install.


step by step instructions
下面我们利用 v2ray 这款科学上网利器,让 Google site kit 为我所用!
环境参考
服务器环境如下:
- 服务器:阿里云轻量级
- 操作系统:CentOS 7
- 管理工具:宝塔面板
- 连接服务器工具:XShell 7,XFtp7
下载并安装 v2ray 到云服务器
downloading
可以科学上网的小伙伴,请从官网下载:点击直达下载地址,选择适合自己的压缩包,我使用的是 CentOS 7 ,请根据自己的服务器环境选择。

不能访问的小伙伴,也可以在本站直接下载。
mounting
下载到本地解压缩后,文件列表如下图所示。

将这些文件全部上传到服务器,或者使用 cp 或 mv 命令 ,或者使用 XFtp 、Putty 等文件传输工具,将各文件移动到合适的服务器路径下,没有文件夹的,要创建文件夹,如下表所示。
v2ray            移动到 /usr/local/bin/v2ray
v2ctl            移动到 /usr/local/bin/v2ctl
geoip.dat        移动到 /usr/local/share/v2ray/geoip.dat
geosite.dat      移动到 /usr/local/share/v2ray/geosite.dat
config.json      移动到 /usr/local/etc/v2ray/config.json
access.log       移动到 /var/log/v2ray/access.log
error.log        移动到 /var/log/v2ray/error.log
v2ray.service    移动到 /etc/systemd/system/v2ray.service
v2ray@.service   移动到 /etc/systemd/system/v2ray@.servicez
注意点
- 1 日志文件要保证所有人都有读写权限
- 2 v2ray.service、v2ray@.service 最好也要保证所有人有读写权限
- 3 可以在要在配置文件中 config.json 中指定日志路径(可选)
- 4 移动完成后,最好检查确认一次配置 config.json 文件
从我们本地的 Windows 的 v2ray 客户端中,导出配置文件,并将导出的文件命名为 config.json (请注意文件名全部为小写)。
导出的时候,要选择:导出所选的服务器为客户端配置。

将此文件覆盖服务器的 /usr/local/etc/v2ray/config.json 文件。
确认 config.json 文件信息
用文件编辑器,或者 vim 打开 config.json 文件 ,查看 v2ray 监听的地址以及端口号、协议类型,可以记录下来,后面备用,然后根据个人需要可以填入 v2ray 的访问和错误日志地址。

使用 v2ray
启动 v2ray
如果成功的话,什么返回显示都没有。
# 启动V2ray
sudo systemctl start v2ray
检查 v2ray 的状态
# 检查V2ray状态
sudo systemctl status v2ray
如果成功,将返回绿色的 active(running)的一个高亮提示。
- 如果失败,将返回红色的提示,这时候请注意检查拷贝的各个文件的路径,是否正确,各个文件是否有相应的读写权限,如果不确定的建议所有上传的文件都设置为 777 权限。
设置 v2ray 开机启动
# 设置V2ray开机自启动
sudo systemctl enable v2ray
如果成功的话,什么返回显示都没有。
测试 v2ray 是否已经正常工作
curl -x socks5://127.0.0.1:1080 https://www.google.com -v如果工作正常,将返回 Google 首页的源码,如下图 。

- 这里需要注意,访问的地址和端口号,需要根据你的配置文件,也就是 config.json 的内容进行调整,尤其是端口号,需要注意。
- 如果显示超时或者无法建立连接,即表示配置有错误,具体可以查看日志排查原因。
如果你完成了这一步,那恭喜你,你离成功也就一步之遥了。
配置 WordPress 设置代理
在 WordPress 文件 wp-config.php 的末尾,添加如下设置:
//WordPress 代理服务器配置
define('WP_PROXY_HOST', 'socks://127.0.0.1'); //代理服务器地址
define('WP_PROXY_PORT', '1080'); //代理服务器端口

// 屏蔽通过代理的地址列表(可选)
define('WP_PROXY_BYPASS_HOSTS', '*.wordpress.org');
Attention:
- 查看自己的 config.json 文件,如果你的配置中 inbound 的 protocol 和我是一样是 socks ,那么代理服务器的地址,需要和我设置相同。如果你的 protocol 显示的是 http,那么这里需要修改成:http://127.0.0.1
- 端口号要根据你的 config.json 文件进行修改
- 访问不需要走地址列表(比如国内的网址)根据你实际情况进行填写,多个网址之间,用逗号进行分隔,形如:define(『WP_PROXY_BYPASS_HOSTS』, 『*.wordpress.org, *.baidu.com, *.qq.com』);
恭喜你,大功告成!
© Copyright notes
The copyright of the article belongs to the author, please do not reprint without permission.

Related posts

No comments...